Smooth Walls Ready for Finishing
Drywall Installation and Repair in Buzzards Bay for remodeling projects, room additions, and patching damaged ceilings and walls before painting
Holes punched by doorknobs, cracks spreading from settling foundations, and water stains that leave softened sections all compromise wall and ceiling surfaces. Drywall installation and repair provided by Benjamin Home Improvement restores smooth, uniform surfaces across Buzzards Bay and surrounding areas, using taping and finishing techniques refined over 25 years of construction experience. When you're adding rooms, reconfiguring layouts, or simply need to patch damage before repainting, the drywall process involves cutting panels to fit, fastening them securely to framing, and applying joint compound in successive coats that are sanded flush to produce an invisible seam ready for primer and paint.
Drywall work begins with measuring and cutting panels to minimize seams and waste, then fastening sheets to studs or joists with screws spaced to prevent sagging or fastener pops. Joint compound is applied over taped seams, sanded smooth after drying, and recoated until the surface is level and uniform. Corner bead protects outside corners from impact damage, and texture matching ensures repairs blend with existing finishes.
Schedule a free estimate to review your drywall needs and receive a detailed proposal for installation or repair work.
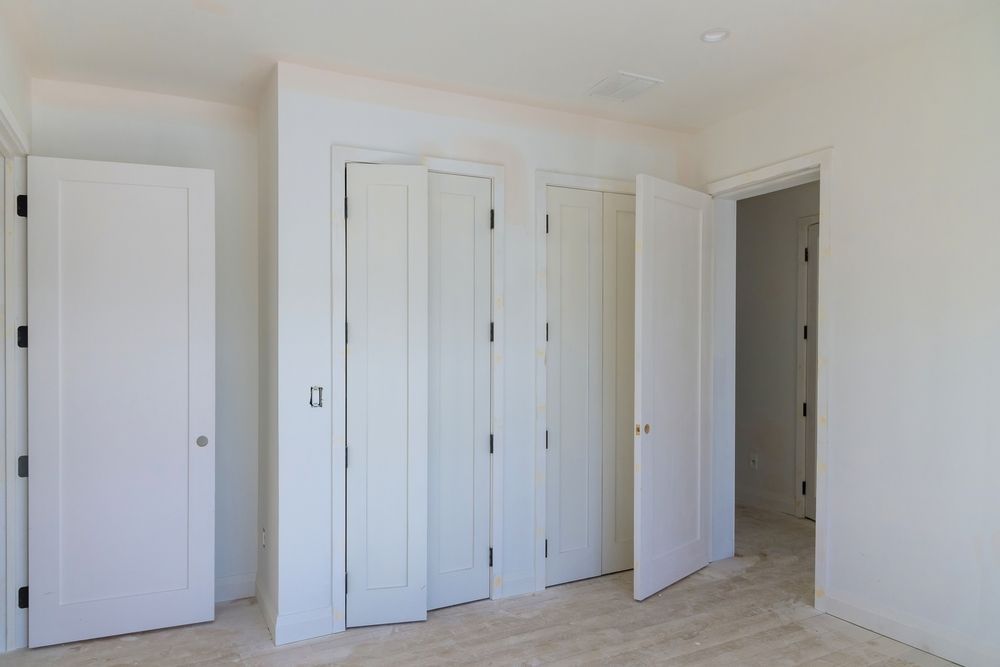
The Difference Between Proper Finishing and Shortcuts
Drywall installation requires selecting panel thickness appropriate for the framing span, positioning seams away from high-stress areas like door corners, and fastening at intervals that prevent movement and cracking. Repairs involve cutting away damaged material, installing backing if framing is missing, and feathering joint compound outward so patches don't create visible humps after painting. Successive coats are applied thin and sanded between applications to build a smooth transition.
Once drywall is finished, walls and ceilings appear uniform without visible seams, fastener dimples, or surface irregularities that show through paint. You'll notice that light rakes across surfaces without highlighting ridges or depressions, corners are crisp and protected, and repaired areas match the surrounding texture so closely that you can't identify where damage was patched. The surface accepts paint evenly, without variations in sheen or color that reveal poor taping or insufficient sanding beneath the finish coat.
Finishing also includes priming patched areas before painting the entire surface, which prevents flashing where new compound absorbs paint differently than existing drywall. Proper installation leaves screw heads slightly recessed and covered with compound, and seams are reinforced with paper or fiberglass tape that prevents cracking as the building settles or seasonal humidity causes slight dimensional changes in the framing.
Questions Before Starting Your Project
Drywall work seems straightforward until you see how much skill goes into producing smooth, invisible seams and durable patches that hold up long-term.
What causes drywall cracks to reappear after repair?
Cracks return when the underlying cause isn't addressed, such as foundation settling, inadequate framing that allows flexing, or improper taping technique that doesn't reinforce the seam enough to handle normal building movement.
How is water-damaged drywall repaired correctly?
Damaged sections must be cut out and replaced rather than patched over, the source of moisture must be eliminated, and framing must be dried and inspected for mold or rot before new drywall is installed to prevent recurring problems.
When should drywall be replaced instead of patched?
Replacement makes sense when damage covers large areas, when multiple repairs have failed, or when walls show widespread cracking or sagging that indicates framing issues or original installation problems that patching won't fix.
What does seamless finishing actually require?
Seamless finishing involves applying at least three coats of joint compound, sanding between coats to remove ridges and tool marks, feathering edges so transitions are invisible, and priming before painting to ensure uniform absorption across new and existing surfaces in Buzzards Bay homes.
How long does joint compound take to fully dry?
Drying time depends on humidity and temperature, but typically each coat requires 24 hours before sanding and recoating, which means proper finishing for additions or large repairs usually spans several days rather than a single afternoon.
Benjamin Home Improvement applies drywall finishing techniques backed by over 25 years of construction work, ensuring surfaces are smooth and ready for paint. Arrange a free estimate to discuss your installation or repair project and receive a clear timeline and cost proposal.